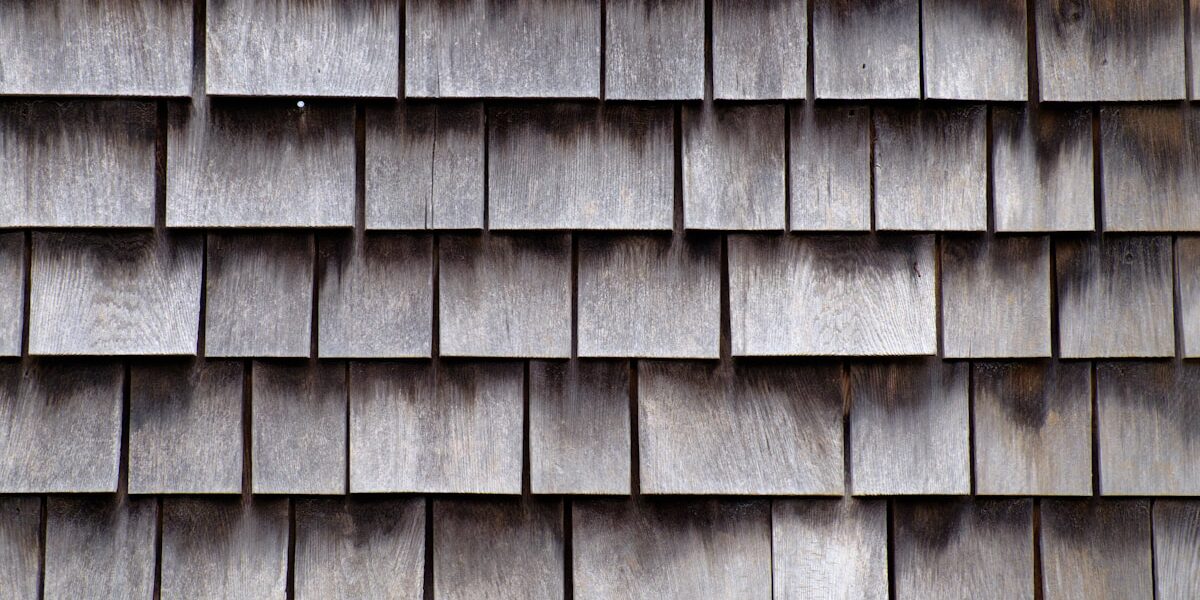
Cedar Shake Roof Installation
Cedar shake roofing has shifted noticeably with all the grade options, installation techniques, and ventilation requirements flying around. As someone who has installed cedar on everything from mountain cabins to coastal homes, I dug into the practical details of getting this natural roofing right. Today, I will share it all with you.

Types of Cedar Shakes
Probably should have led with this part honestly—knowing your options matters:
- Hand-Split Shakes: Rough, rustic look from hand-split surface
- Taper-Sawn Shakes: Smoother appearance, sawn on both sides
- Tapershingle: Thinner profile, sawn on both sides
Grade Options
- Premium Grade: Clear vertical grain, free from defects
- Number 1 Grade: Contains some sapwood, similar durability
- Number 2 Grade: More sapwood and some defects
Preparation
That’s what makes proper prep endearing to us roofing professionals—it prevents problems later:
- Examine existing roof and make necessary repairs
- Ensure roof deck is clean, dry, and debris-free
- Install high-quality roofing felt or synthetic underlayment
Tools and Materials
- Cedar shakes
- Stainless steel or hot-dipped galvanized nails
- Hammer or nail gun
- Roofing felt or synthetic underlayment
- Chalk line, saw, measuring tape
- Safety gear (gloves, goggles, harness)
Installation Process
- Mark horizontal chalk line along roof’s edge for straight first row
- Install starter course with bottom edge aligned to chalk line, 1.5-inch overhang
- Secure each shake with two nails, one inch from edges and 1.5 inches from top
- Continue with first full course overlapping starter by about 10 inches
- Stagger joints between shakes by at least 1.5 inches
- Maintain consistent overlap pattern throughout
- Install ridge shakes at the top, overlapping top course
Ventilation and Flashing
Proper ventilation prevents moisture buildup and rot. Ensure ridge and soffit vents function correctly. Regularly inspect flashing around chimneys and vents to prevent leaks.
Finishing Touches
- Inspect for loose or improperly installed shakes
- Treat with wood preservative for UV and moisture protection
- Clean periodically to remove debris and moss
- Inspect annually for damage or wear


Stay in the loop
Get the latest northwest renovate updates delivered to your inbox.