Why a Clear Drain Can Still Drain Slowly
Shower drain diagnostics have changed quite a bit thanks to the generic “pour baking soda down it” advice flying around. You already tried that. You tried everything. You snaked the drain — nothing came up. You plunged it until your arms gave out. You bought that $8 bottle of drain cleaner from the hardware store and stood there watching water still pool around your ankles like you’d converted your shower into a wading pool.
Here’s the thing most articles won’t tell you: hair and soap scum aren’t always the villain.
When there’s genuinely nothing blocking the drain, the problem almost always comes down to three structural culprits — a restricted vent stack, a sagging P-trap, or pipes sitting at the wrong angle. A plunger won’t touch any of these. Neither will a $12 snake from Lowe’s. But understanding which one you’re actually dealing with changes everything about your next move.
This article includes affiliate links. We may earn a commission at no extra cost to you.
Check the Vent Stack First
Important part first. The vent stack does more work than almost any other part of your plumbing system, and nobody thinks about it until water stops moving.
But what is a vent stack? In essence, it’s an air intake for your drainage system. But it’s much more than that. When water rushes down a drain pipe, it creates negative pressure — a vacuum, essentially. The vent stack lets air back in to equalize that pressure. No air equalization means water fighting against a vacuum the entire way down. That’s why it drains slowly even when nothing’s blocking it.
A restricted vent shows up in recognizable ways:
- Gurgling noises from the drain or toilet right after water clears
- Slow drains hitting multiple fixtures at once, not just the shower
- Drainage that randomly speeds up when you flush a nearby toilet
- Sluggishness that noticeably worsens on humid days
The vent stack terminates on your roof. That opening collects debris — bird nests, leaves, dead animals, chunks of shingle from wind damage. I learned this the hard way. My master bath shower started draining like it was filled with molasses. I assumed a clog, snaked it three times over two weekends, found absolutely nothing. Finally climbed up on the roof with a flashlight and found a bird nest sitting right in the vent pipe opening. That was the whole problem.
You can check without calling anyone. Find the vent pipe on your roof — it’s typically 2 to 4 inches in diameter, PVC or metal, sticking up about a foot. If you’re comfortable on a ladder and have basic roof sense, climb up and shine a flashlight straight down into it. Debris and nesting material are obvious. Don’t repeat what I did of spending two weekends snaking a perfectly clear drain when the answer was twelve feet above your head.
Clearing it isn’t complicated. A vent-rated plumbing snake — around $25 to $40 at most hardware stores — handles most obstructions. Stubborn blockages respond well to a pressure washer with a 90-degree nozzle attachment. Not comfortable on a roof? Fair enough. A plumber can handle this in under an hour, usually running $150 to $300 for the service call, and the drain works normally the same day.
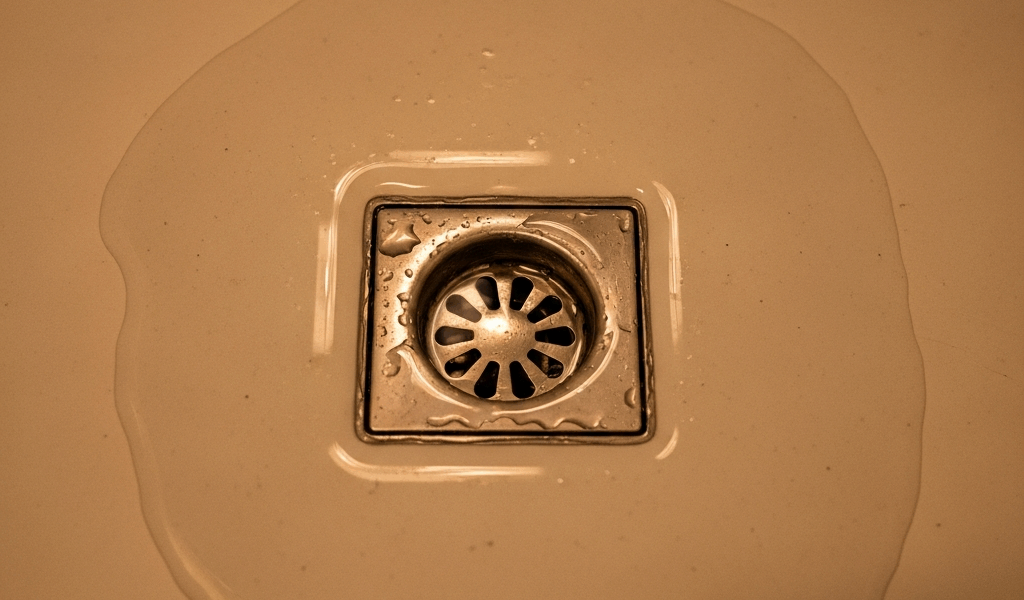
Inspect the P-Trap for Partial Blockage or Sag
The P-trap is that U-shaped pipe section visible under your sink or behind a shower access panel — if your shower has one. It holds a small reservoir of standing water that blocks sewer gases from drifting back into the house. When everything’s right, water moves through it without hesitation.
The problem: ABS and PVC traps sag. Especially in older installs, or anywhere a contractor didn’t bother with proper support brackets. A sagging trap doesn’t need to be fully blocked to wreck your drainage. A 10- to 15-degree sag cuts water flow noticeably — sometimes dramatically.
If your P-trap is accessible, grab a flashlight and look at the angle. A properly installed trap slopes downward leaving the fixture, dips into that U-bend, then angles slightly downward connecting to the main line. If the middle sags like a hammock, that’s your issue.
Two ways to attack this. First, snake the trap directly — sometimes the debris isn’t a true clog but a partial restriction sitting in that low sag point. A 3/8-inch cable snake, around $15 to $30, can dislodge it. Run it 10 to 15 feet into the trap opening and work it slowly.
If snaking doesn’t move the needle, replacement is the real answer. I’m apparently a slow DIY plumber and this job still took me about 40 minutes — adjustable wrench, a new PVC trap assembly (around $8 to $15 at Home Depot, or $20 to $35 for brass), and patience with the compression fittings. Drain the old trap into a bucket first. Unbolt both connections. Install the replacement with a proper downward slope toward the main line. The only real mistake to avoid is cross-threading the compression nuts — if it feels wrong, back off and reseat it before tightening.
Pipe Slope Problems and How to Spot Them
Every building code version going back decades agrees on one number: 1/4 inch of drop per foot of horizontal pipe run. That’s the minimum slope for drain lines to function correctly. Not dramatic. Barely visible to the eye. Just enough for gravity and water velocity to keep things moving.
Flat pipes slow everything down. Reverse-pitched pipes — where the line angles slightly upward — are worse, though that’s almost always a rough-in error you discover during demo. Both problems show up constantly in shower additions, ADU conversions, and basement remodels where whoever did the rough plumbing moved fast and didn’t check their angles.
You can’t always see this. Most drain lines run inside walls or under concrete slabs. But if you have basement access or a crawlspace below the shower, set a 2-foot level on top of the visible drain line and measure. Less than 1/4 inch of tilt over 12 inches of run means the slope is wrong.
This is honestly the worst outcome on this list. Fixing improper pipe slope means opening floors or walls — sometimes both. A contractor re-runs the affected line at the correct angle, which isn’t a weekend job for most homeowners. Expect $800 to $2,000 depending on access difficulty and how many linear feet need correction.
The one silver lining: catch this during a planned remodel when the walls are already open and you’re looking at a fraction of the cost.
When to Call a Plumber vs. Fix It Yourself
So, without further ado, let’s break this down by what you’ve actually found.
Vent stack cleaning: DIY-able if ladders and rooflines don’t scare you. Supplies run $25 to $50. A plumber charges $150 to $300 for the same job. Spend an afternoon on it before you reach for the phone.
P-trap replacement: DIY-able if the trap is physically accessible and you’ve held a wrench before. This isn’t a skill-intensive job. Parts cost $10 to $40. A plumber runs $200 to $400 for the same repair.
P-trap snaking: Start here before replacing anything. A drain snake like the FlexiSnake Drain Weasel and an hour of your time. Worth attempting first — always.
Pipe slope correction: Call a plumber. This is structural. It involves professional assessment, opened walls or floors, and re-run drain lines. Budget $800 to $2,500 and don’t try to shortcut it.
If you’ve cleared the vent, inspected the trap, and the shower still drains like it’s thinking about it — you’ve got a slope problem. That’s what makes this diagnosis process endearing to us DIY-minded people, honestly: the process of elimination actually works. Accept the diagnosis and call someone who specializes in drain lines. Trying to self-correct a pitch problem without opening the right sections usually creates two problems where you started with one.


Stay in the loop
Get the latest northwest renovate updates delivered to your inbox.