Effortless Plumbing Tips for Your Washing Machine
Washing machine plumbing has gotten less clear-cut with all the connection types, drainage requirements, and installation options flying around. As someone who has installed and troubleshot washing machine setups in every configuration, I put in the hours studying getting this right. Today, I will share it all with you.

Planning Your Installation
Probably should have led on this subject, in fairness—proper planning prevents problems later:
- Choose a location near existing water supply and drainage
- Ensure the floor is level for stable operation
- Provide adequate space for service access
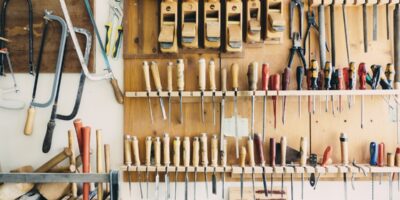
Tools and Materials Needed
That’s what makes preparation endearing to us organized DIYers—having everything ready makes the job smooth:
- Adjustable wrench and pliers
- Teflon tape
- Washing machine supply hoses (stainless steel braided recommended)
- Drain hose and hose clamps
- Washing machine outlet box (optional but cleaner)
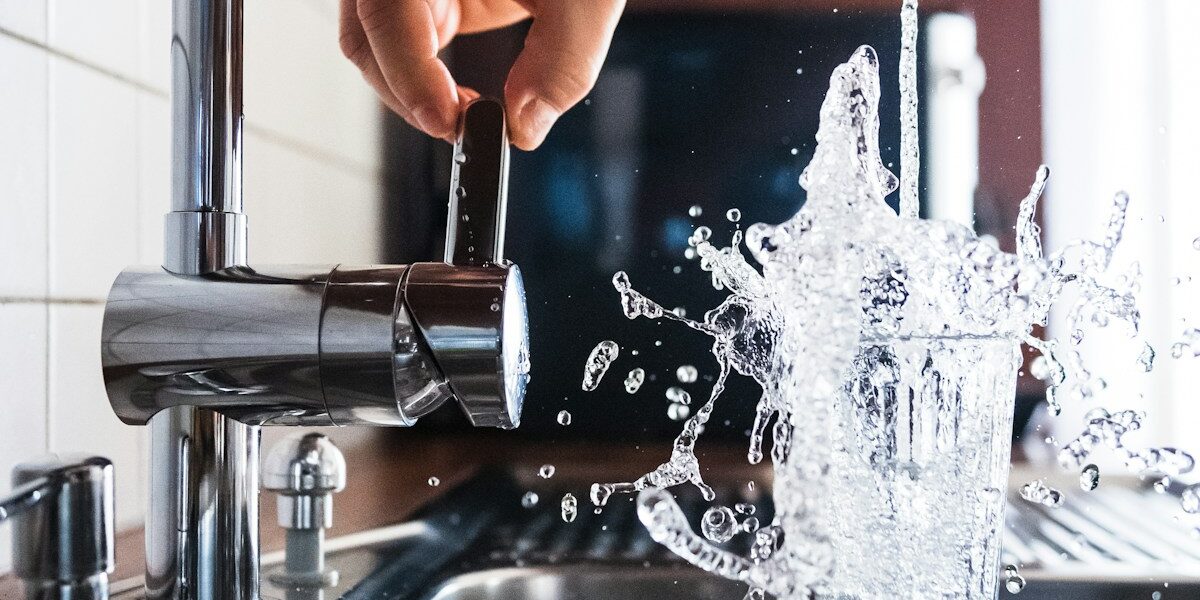
Water Supply Connections
Shut off the main water supply before connecting hoses. Attach hot and cold supply hoses to the corresponding inlets. Wrap Teflon tape around threads to prevent leaks. Open valves slowly and check for leaks before proceeding.
Drain Hose Setup
Connect the drain hose to the machine’s outlet and secure with a clamp. The other end goes into a standpipe (minimum 2-inch diameter) or laundry sink. Create a high loop above the machine’s water level to prevent backflow.
Testing the Installation
Run a test cycle and observe for leaks at all connections. Address any issues immediately to prevent water damage.
Maintenance Tips
- Inspect hoses periodically for wear—replace every 5 years
- Clean filters regularly
- Check drainage for clogs
- Level the machine to reduce vibration and strain


Stay in the loop
Get the latest northwest renovate updates delivered to your inbox.