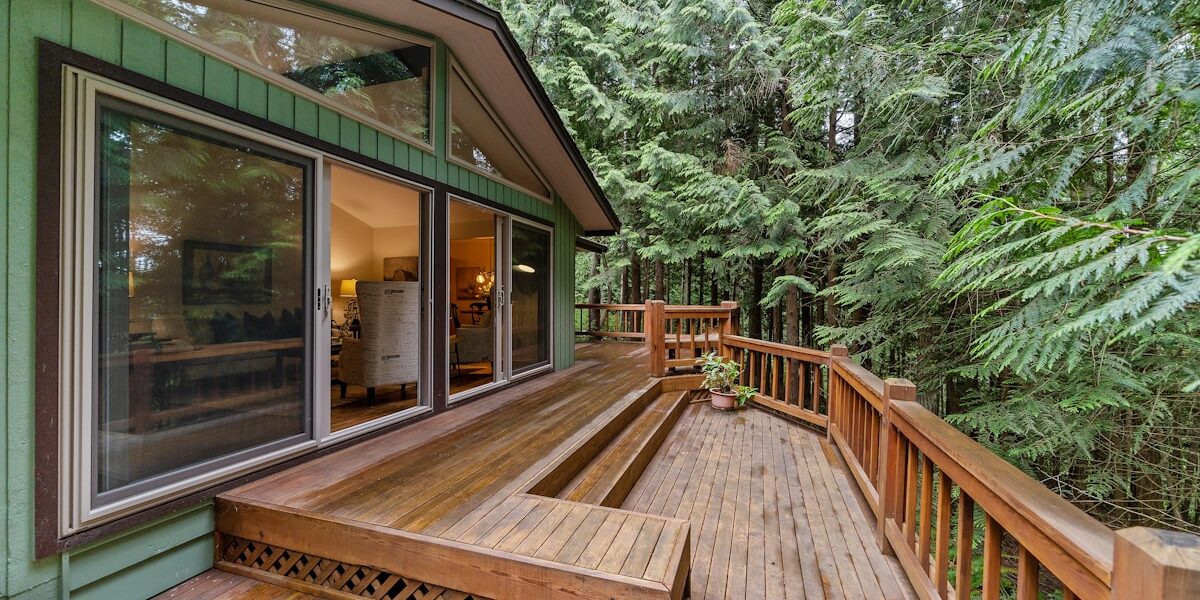
Deck Installation Guide
Deck building has gotten complicated with all the material options, code requirements, and structural calculations flying around. As someone who has built decks of every size and style, I learned everything there is to know about proper installation. Today, I will share it all with you.
Planning
Probably should have led with this section, honestly—proper planning prevents problems:
- Measure the area and determine deck size
- Sketch layout on paper or use deck design software
- Check local building codes and obtain permits
- Plan attachment to house, stairs, and handrails
Material Selection
That’s what makes material choice endearing to us deck builders—it determines longevity:
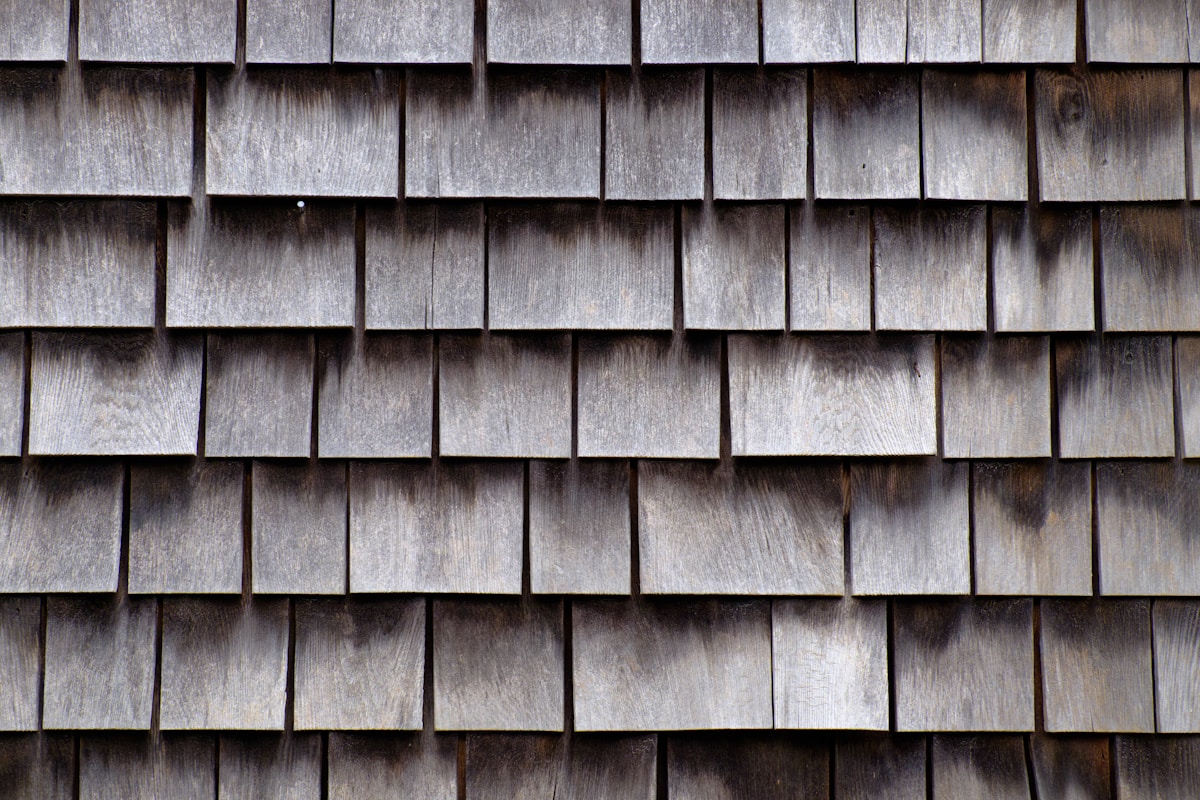
- Pressure-treated lumber: Resilient against elements and pests
- Cedar or redwood: Natural decay and insect resistance, striking appearance
- Composite: Low maintenance, resists rot and fading, higher cost
Tools and Supplies
- Measuring tape and level
- Saw (circular or miter) and drill
- Hammer, screws, and nails
- Post hole digger and concrete
- Protective gear (gloves, safety glasses)
Site Preparation
Clear area of grass, rocks, and debris. Mark corners with stakes and string. Level the area by grading if necessary.
Installing Footings
- Dig holes below frost line at each marked location
- Pour concrete, insert post anchors, allow to cure
- Space footings 6-8 feet apart per plan
Building the Frame
- Attach ledger board to house with lag screws, ensuring level and properly sealed
- Install beam on posts using metal brackets
- Place joists across beam and ledger, securing with joist hangers
Laying Decking
- Lay boards perpendicular to joists
- Leave small gap between boards for drainage and expansion
- Attach with screws or hidden fasteners
- Trim overhanging boards and sand rough edges
- Apply stain or sealant to protect wood
Railings and Stairs
Follow local codes for railing height and spacing. Attach posts first, then rails and balusters. For stairs, use stringers with secure treads and risers. Install handrails for safety.
Maintenance
Clean periodically, check for loose connections, and reapply sealant as needed to protect the wood.


Stay in the loop
Get the latest northwest renovate updates delivered to your inbox.