Why Your Bathroom Exhaust Fan Is Tripping the Breaker
Bathroom exhaust fan problems have shifted noticeably with all the conflicting advice flying around. As someone who spent three days resetting a tripped breaker before actually diagnosing what was wrong, I got hands-on with this specific failure. Today, I will share it all with you.
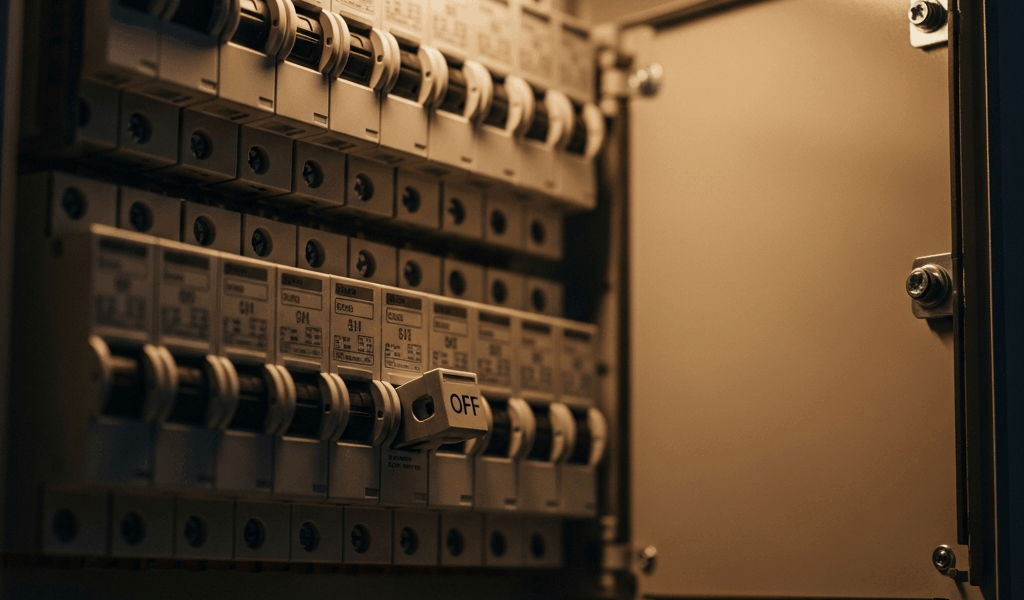
Here’s the thing — a tripped breaker isn’t a catastrophe. It’s your electrical system doing exactly what it’s supposed to do. Something pulled too much current, the breaker caught it, and now you’re standing in a bathroom with no fan. The gap between a $30 fix and an $800 electrician visit is just knowing which of three problems you’re actually dealing with.
So, without further ado, let’s dive in.
The three culprits: a motor drawing excessive current because it’s failing or seized, a circuit that’s genuinely overloaded, or moisture-damaged wiring inside the fan housing creating a short. A healthy bathroom fan motor draws somewhere between 0.5 and 1.5 amps. Anything pushing past that safe zone trips the breaker. Simple as that.
Check If the Circuit Is Overloaded First
Start here. Most homeowners skip straight to assuming the fan is broken — learn from what tripped me up.
Go to your breaker panel and find which breaker controls the bathroom. Flip it off and walk the room. What loses power? The lights? The outlets? Sometimes the exhaust fan sits on its own dedicated circuit. Sometimes it shares a 15 or 20-amp breaker with every other thing in the room.
That distinction matters enormously. Picture this: a heated towel rack, a GFCI outlet running a heated floor mat, dimmer-controlled bathroom lights, and an exhaust fan all pulling from the same 20-amp circuit. Now someone plugs a 1,500-watt hair dryer into the hallway outlet on the same circuit. The math breaks down fast.
The National Electrical Code requires bathroom receptacles on a dedicated 20-amp circuit — but bathroom lighting and exhaust fans often share a separate circuit that was never sized for peak loads. That’s especially common in homes built before 1990.
Honest math: a typical bathroom light fixture burns 10–15 watts. A heated towel rack pulls 300–600 watts. A hair dryer hits 1,500+ watts. Your fan motor at full speed draws maybe 50–100 watts, but the startup surge spikes higher. When that motor kicks on while the towel rack is already running, you’ve crossed the threshold.
Try this test. Turn off the breaker. Unplug or switch off every non-essential device in the bathroom and adjacent hallway. Turn the breaker back on. Run just the exhaust fan for 10 minutes. Does it hold? If yes — load-sharing problem, not a fan problem. If it still trips, move to the motor test.
How to Test the Fan Motor for a Short or Failure
Frustrated by a breaker that kept tripping no matter what, I finally pulled the fan cover off and actually looked at the thing — using nothing more than a screwdriver and a flashlight I found under the kitchen sink.
Here’s the sequence. Turn the breaker completely off. Remove the fan cover or grille — usually held by spring clips or two small screws. Find the motor wiring harness, the plug-in connector linking the motor to the house wiring. Disconnect it. This isolates the motor entirely from the circuit.
Turn the breaker back on. Activate the fan switch. If the breaker holds and doesn’t trip, the motor is drawing too much current. The fan is the culprit. If the breaker still trips with the motor disconnected, the fault lives in the wiring or housing — skip ahead to the wiring section.
When the motor tests bad, look at it. Smell it. Seriously — a burned smell is a dead giveaway. Scorch marks or blackening on the motor casing means insulation failure. Motors that far gone aren’t recovering.
Replacement motors for standard bathroom exhaust fans run $15 to $40 depending on CFM rating and brand. A Panasonic WhisperCeiling replacement motor is around $35 on Amazon. Installation takes about 15 minutes — strip a half-inch of insulation, twist the wires together, cap with a wire nut, wrap with electrical tape. Done.
That said — if your fan is older than 10 years, a replacement motor only makes financial sense if the housing and ductwork are still solid. A complete new fan unit from Home Depot runs $60 to $150 and includes a fresh motor plus modern moisture seals that don’t fail nearly as often. That’s what makes complete replacement endearing to us DIYers: one purchase, one problem solved, no wondering what fails next.
Inspect the Wiring for Moisture Damage or Loose Connections
Quick callout up front.
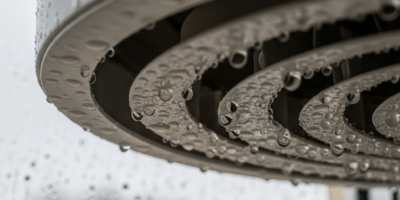
Bathroom fans live in a genuinely hostile environment. Humidity works into wire insulation over years. Copper strands corrode. Insulation turns brittle. It’s slow, invisible damage — until it isn’t.
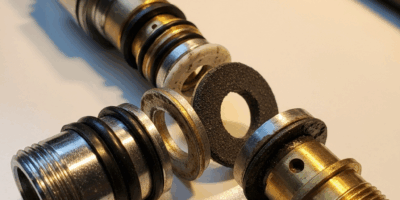
With the breaker off and the motor still disconnected, look at the wiring inside the fan housing and where the wires enter the junction box. Hunt for three things: discoloration on the wire insulation — green or white deposits signal corrosion — cracked or flaking insulation, and bare copper showing through.
Check the wire nut connections too. These small plastic caps twist onto paired wire ends to hold the connection. Loose, corroded, or cracked wire nuts let current arc — and arcing trips breakers. I’m apparently someone who ignored a slightly loose wire nut for two years, and a 25-cent replacement part fixed what I thought was a dying motor.
The fix, if you find a loose or corroded wire nut: turn the breaker off, unscrew the old wire nut completely, strip about a half-inch of fresh insulation from each wire to remove the corroded section, twist the bare ends together tightly, screw on a new wire nut, and wrap the joint with electrical tape. Restore power and test. That’s it.
But — and this matters — if the insulation has cracked further down the line, not just at the connection point, stop. Damaged insulation inside a wall or ceiling cavity can arc to wood framing. That’s fire risk, not a DIY repair zone. Call a licensed electrician.
When to Replace the Fan vs Fix the Wiring
But what is the actual decision here? In essence, it’s matching the repair to what the diagnostic told you. But it’s much more than that — it’s also about not throwing money at a fan when the circuit is the real problem.
- Motor tests bad, fan is under 10 years old: replace the motor ($30–$40, about 15 minutes of work)
- Motor tests bad, fan is over 10 years old: replace the entire unit ($80–$150, 30–45 minutes)
- Wiring is loose at connection points: replace the wire nuts — $5 in parts, 10 minutes of work
- Wiring insulation is compromised inside the housing: electrician call, expect $150–$300 for diagnosis and repair
- Circuit is overloaded: either dedicate the circuit to the fan alone or upgrade the shared circuit — electrician call, $200–$500 depending on your panel
One more thing worth knowing: modern exhaust fans come with better moisture seals and corrosion-resistant motors as standard. If your old unit tripped breakers repeatedly even after repairs, a unit with a built-in humidity sensor and thermal overload protection — something like the Broan-NuTone AE110L, around $130 at most hardware stores — breaks that cycle for good.
Most bathroom fans trip breakers because the motor is failing or the circuit is overloaded. Walk through these diagnostics in order and you’ll know exactly what you’re paying for before you pick up the phone — or reach for your wallet.

Stay in the loop
Get the latest northwest renovate updates delivered to your inbox.