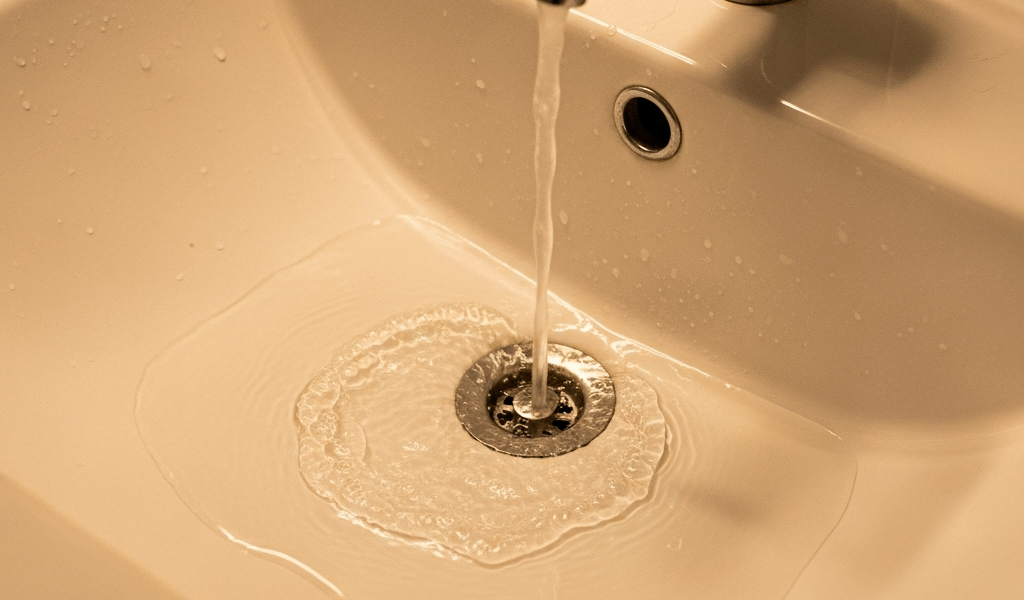
Why Your Drain Is Slow When Nothing Is Blocking It
Slow bathroom drains have started getting harder to follow with all the conflicting advice flying around. Pour boiling water down it. Use baking soda and vinegar. Buy a $4 drain snake from the dollar store. None of it helps when the real issue isn’t a clog at all — and that’s the part nobody talks about.
As someone who spent three weekends troubleshooting a bathroom sink that drained like it was personally insulting me, I got hands-on with this specific, maddening problem. Today, I will share it all with you.
But what is a “slow but not clogged” drain, exactly? In essence, it’s a drain where water moves — just agonizingly slowly — without any single obvious obstruction you can point to. But it’s much more than that. It’s a symptom that can trace back to four completely different root causes, each requiring a different fix. Partial soap scum sitting deeper than you can see. A venting issue creating negative pressure. A compromised P-trap seal letting air in. Or pipes that were never sloped correctly to begin with.
This guide works backward from the assumption you’ve already ruled out a basic clog. So, without further ado, let’s dive in.
Check the Stopper and Drain Cover First
Worth putting near the top. Most people have no idea how much gunk accumulates just below the drain surface — hidden, invisible, quietly strangling your water flow.
Start by pulling the pop-up stopper. On most bathroom sinks — your standard Moen or Delta setup — there’s a horizontal pivot rod running behind the drain body. It connects to a lift rod and opens or closes the stopper when you pull up. Hair wraps around this mechanism like it has a personal vendetta.
Here’s the step-by-step:
- Look under the sink and find where the pivot rod connects to the drain body. There’s a retaining nut or clip holding it in — usually plastic, sometimes metal on older fixtures.
- Loosen that nut counterclockwise. You don’t need to remove it completely. Just enough slack to slide the rod back an inch or two.
- Pull the rod straight back and lift the stopper free from the drain opening.
- Clean the pivot rod, stopper, and linkage with an old toothbrush and hot water. The soap and hair combination that clings to these parts is genuinely impressive — in the worst possible way.
- Shine a flashlight down the open drain. There’s almost always a mat of hair pressed against the inner walls just below where the stopper sat. Tweezers or a small hook pull it right out.
Don’t use chemical drain cleaners before doing this. I’m apparently sensitive to the stuff, and Drano works for clearing residue while reaching back in two minutes later never works out well. Got a small splash on my wrist from exactly that situation. Don’t do what I did.
Rinse everything with hot water, reassemble, and test. Sometimes that’s the whole fix. If the drain still crawls, at least you’ve eliminated the obvious culprit and can move forward without second-guessing yourself.
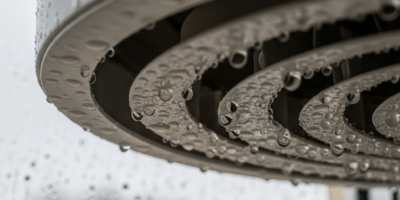
Test for a Venting Problem Causing Slow Drainage
This is where most DIY guides completely drop the ball. A venting problem creates genuinely slow drainage — zero physical blockage anywhere in the pipe. The water just… resists moving.
Your drain needs air to move water efficiently. That’s the short version. A vent stack runs up through your roof and feeds air into the drain system as water flows down. Without it working correctly, negative pressure builds. Water slows. It feels exactly like a partial clog, except no amount of snaking fixes it.
The symptom that gives it away: gurgling. That low, wet sound coming from the drain after water passes through. Another tell — your drain briefly speeds up right after someone flushes a toilet elsewhere in the house. That momentary pressure shift moves the water faster. That’s what makes venting issues endearing to us DIYers who love a diagnostic puzzle, honestly. The clues are right there once you know what to listen for.
To check if your vent is blocked:
- Get to your roof safely — a solid ladder, rubber-soled shoes, and ideally someone at the base spotting you. This isn’t optional safety theater. It matters.
- Find the vent stack. It’s a PVC or ABS pipe — usually 3 or 4 inches in diameter — poking straight up through the roof surface.
- Shine a flashlight straight down into it. Clear space means a clear vent. Leaves, bird nesting material, ice formations in January, or any animal debris means you’ve found your problem.
- Light debris clears with a plumbing snake or even a long stick. Heavy blockages, or any situation where you’re not comfortable up there, is a plumber call. That’s not failure — that’s just math.
After clearing the vent, run water and listen. Gurgling stops. Drainage improves. The difference is usually immediate and obvious.
Inspect and Clear the P-Trap for Partial Buildup
The P-trap is the curved pipe section directly under your sink — that U-shaped piece that always has water sitting in it. Its job is maintaining a water seal that keeps sewer gases out of your bathroom. It also happens to be a perfect collection point for partial soap scum, mineral scale, and hair over months and years.
Removing it is genuinely simple. But you need a bucket underneath before you touch a single nut. Frustrated by a soaking wet cabinet floor after skipping this step, I now keep a dedicated bucket under every sink I work on using nothing more than a $3 orange Home Depot bucket. Learn from that.
Here’s the process:
- Position the bucket directly below the P-trap. It holds roughly a half-gallon to a gallon of water — more if the drain has been recently used.
- Locate the slip nuts on both ends of the trap. One connects to the drain tailpiece coming down from the sink. The other connects to the drain stub-out in the wall.
- Turn both nuts counterclockwise with an adjustable wrench to break them loose, then finish by hand. Plastic nuts on PVC traps need gentle handling — they strip easily.
- Pull the trap downward and let it drain into the bucket.
- Look inside. A full clog looks dense and matted — impenetrable, almost solid. Partial buildup looks different. Grey or brown film coating the walls, some loose hair, maybe chalky mineral deposits that resemble dried toothpaste.
- For partial buildup, fill the trap with hot water and let it soak for 15 minutes. A bottle brush — the kind sold for $2.49 at any grocery store — scrubs most of it free with minimal effort.
- Rinse thoroughly and reinstall, hand-tightening the slip nuts until snug.
Severely corroded traps or heavy buildup that won’t brush clean deserve replacement, not heroic scrubbing efforts. New P-traps run $8 to $15 at any hardware store. Installation takes under five minutes. That’s the right call.
When the Problem Is Deeper in the Drain Line
Checked the stopper. Tested the vent. Cleaned the P-trap. Drain still moves like it’s tired. That means the restriction lives deeper in the line — several feet down, past anything you can reach by hand.
A hand snake handles this. The manual crank type, around $15 to $25 at hardware stores — not a motorized auger, just the basic coiled cable version. Feed it down past the P-trap connection, crank slowly while pushing, then pull back. Repeat three or four times. Partial restrictions often break up or get snagged and pulled out.
Before going that route, though — does the slow drainage hit only this one sink, or is the whole bathroom affected? Multiple slow fixtures point to the main vent stack or main drain line. That’s not a DIY situation. A plumber needs to snake or camera-inspect the main line, and no amount of hand-snaking a single sink drain touches that problem.
For a single sink that won’t respond to snaking, calling a plumber makes sense at this point. You’ve done the diagnostic work — stopper, vent, trap, line. A professional brings either a power auger or a camera inspection system that shows exactly what’s happening inside the pipe. That information beats guessing every single time.


Stay in the loop
Get the latest northwest renovate updates delivered to your inbox.