
Drywall Ceiling Basics
Drywall ceiling installation has gotten messy with all the thickness options, finishing techniques, and soundproofing considerations flying around. As someone who has installed ceilings in every type of space, I dug into the practical details of getting it right. Today, I will share it all with you.
What Is Drywall?
Probably should have led with this topic, to be honest—drywall is gypsum plaster sandwiched between thick paper sheets. It’s lightweight, easy to cut, and simple to install, making it popular for interior walls and ceilings.
Materials and Tools
That’s what makes proper preparation endearing to us drywall installers—having everything ready:
- Drywall sheets, joint compound, tape
- Screws and nails
- Utility knife, T-square, drywall saw
- Drill and taping knives
- Ladder or scaffolding
Installation Process
- Measure ceiling area and estimate sheets needed
- Ensure joists are secure and evenly spaced
- Install insulation first if needed
- Cut sheets to fit, accounting for fixtures
- Lift to ceiling and secure with screws about 12 inches apart
- Slightly recess screws without breaking paper
Taping and Mudding
- Cover seams and screw holes with joint compound
- Apply drywall tape over seams
- Spread compound evenly and thinly
- Allow to dry, apply additional layers
- Sand for smooth finish
Finishing
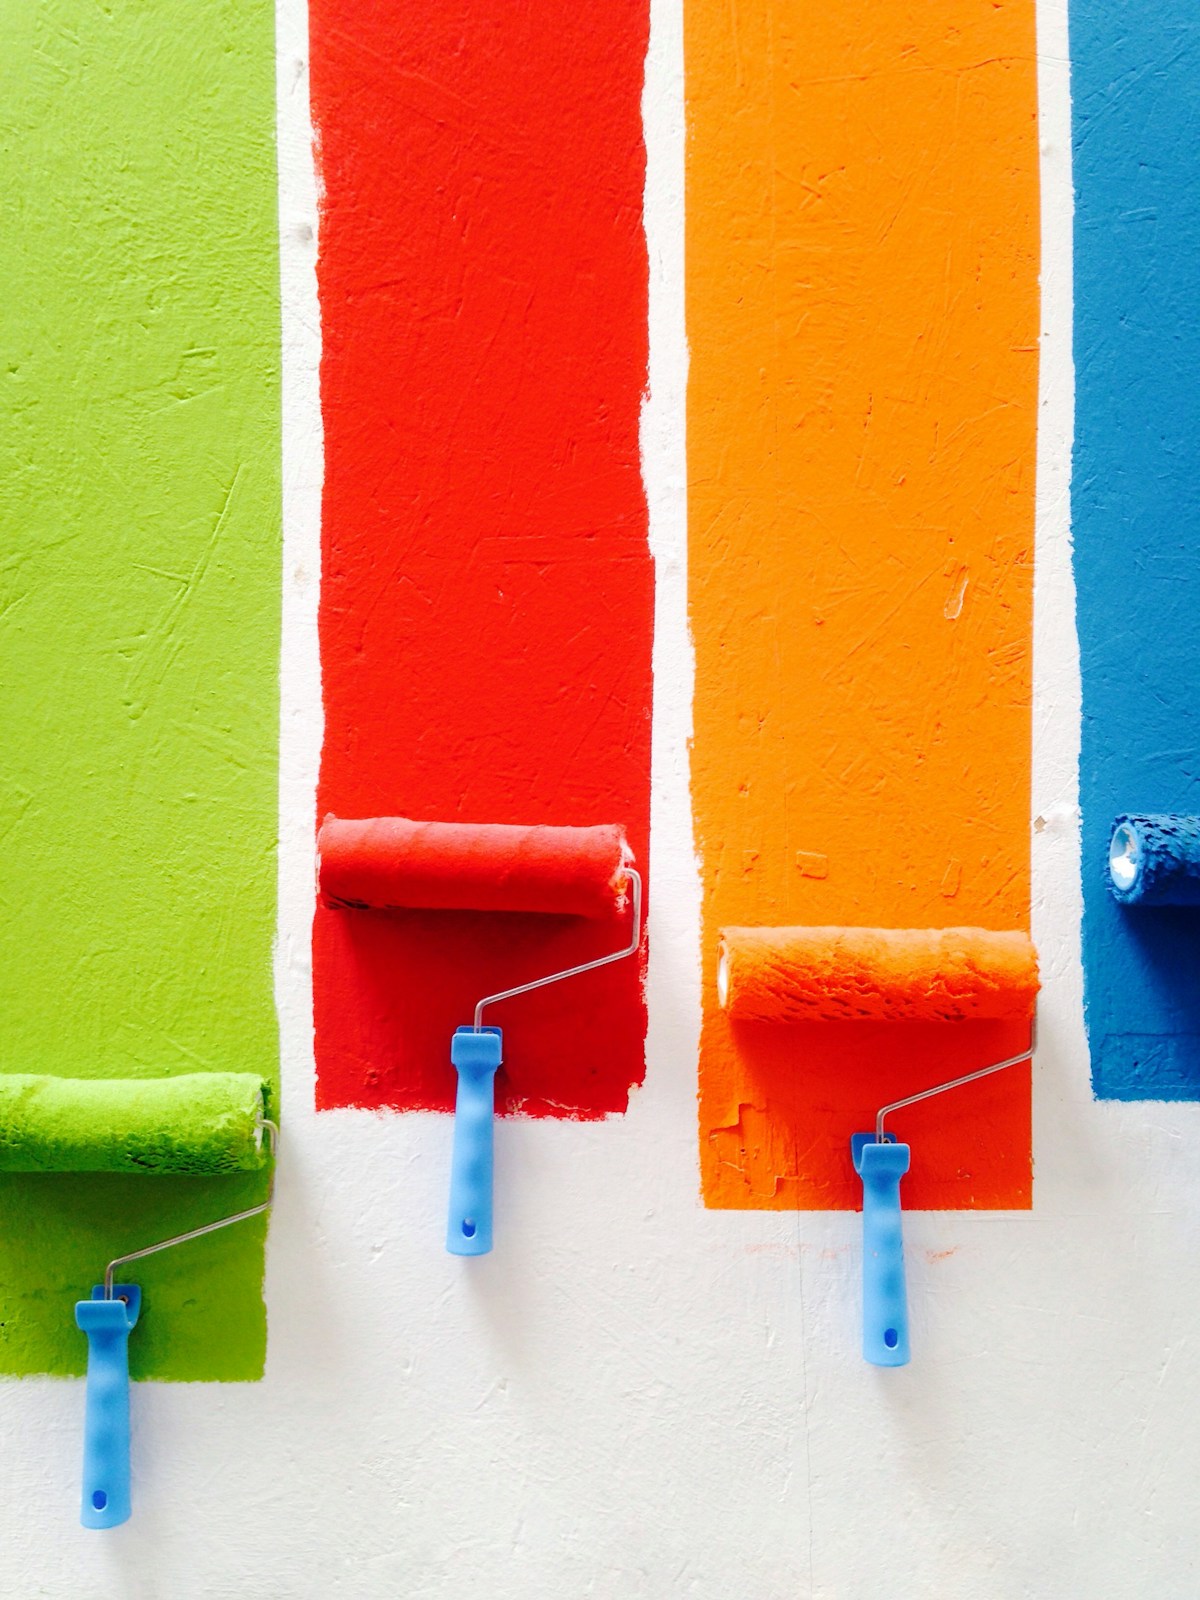
Apply primer for even paint application. Paint with chosen color—flat paint hides imperfections better. Texturing or crown molding enhances appearance.
Soundproofing
Add insulation between joists and use thicker drywall for noise reduction. Special soundproof drywall offers improved acoustic performance.
Common Issues
- Cracks: Repair with compound, tape, and sanding
- Water Damage: Fix leak source, replace damaged section
- Sagging: May require professional assessment
Choosing Drywall
- Thicknesses: 1/4″ to 5/8″—thicker offers better sound/fire resistance
- Moisture-resistant for humid areas
- Standard for most other spaces
Maintenance
- Inspect regularly for damage
- Address repairs promptly
- Repaint every few years
Benefits
- Cost-effective and readily available
- Easy to customize with paint and textures
- Effective soundproofing with proper insulation
- Quick to repair compared to plaster


Stay in the loop
Get the latest northwest renovate updates delivered to your inbox.