Why Your Shower Valve Keeps Dripping After You Turn It Off
Shower valve drips have gotten less clear-cut with all the conflicting advice flying around. Replace the whole cartridge. Call a plumber. Ignore it. I stood in my bathroom at 2 AM for three weeks listening to that steady drip-drip-drip before figuring out I didn’t need to replace anything major. A $7 seat washer fixed the whole thing.
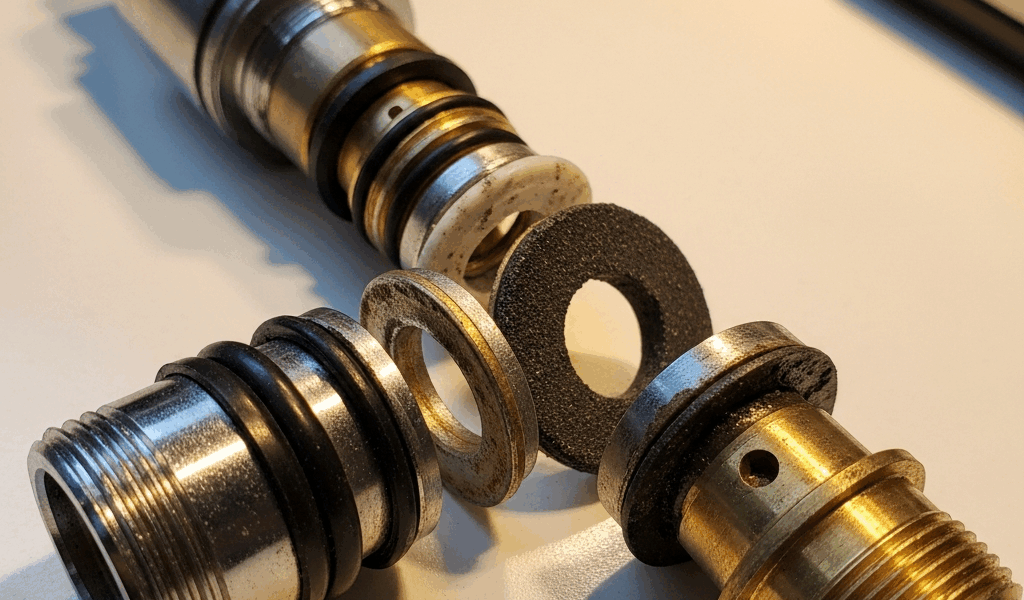
So what actually causes this? In essence, it comes down to three culprits: a worn cartridge seal, a failed seat washer, or a degraded O-ring. But it’s much more than just picking one and hoping. The cartridge is the internal mechanism that stops water flow when you twist the handle — think of it as the valve’s brain. The seat washer is a small rubber disk that lives under the cartridge and creates the actual watertight seal. The O-ring wraps around the cartridge body and stops water from sneaking around the sides. Each one fails in a completely different way. Each one needs a different fix.
Here’s what actually matters: you can figure out which one is broken in roughly five minutes. No wall demolition. No phone calls. That’s the difference between a $15 afternoon project and a $150 service visit.
What You Need Before You Start
Worth putting near the top. Nothing kills momentum like getting elbow-deep into a valve and realizing your adjustable wrench is in the car.
Gather these items:
- Adjustable wrench (10-inch)
- Screwdrivers (both flathead and Phillips, depending on your valve brand)
- Flashlight or headlamp
- Replacement cartridge or washer kit (brand-specific — see below)
- Plumber’s grease or silicone-based valve grease
- Small bowl or bucket for catching water
- Towel
Identify your valve brand before you buy anything. Check the valve body itself or look under the sink for a manufacturer stamp. Most homes run Moen, Delta, or Kohler — and these are absolutely not interchangeable. A Moen M-PACT cartridge will not fit a Delta MultiChoice valve. I’m apparently a Moen household and their 1222 cartridge works for me while every generic replacement I tried never seated correctly. Don’t do what I did. I burned $30 on a wrong-brand cartridge that collected dust for two years.
How to Diagnose Where the Drip Is Coming From
Before you touch a single tool, answer three questions. Write the answers down.
Question 1: Where is the water coming from? Dripping from the spout down below points toward the cartridge or seat washer. Water coming from the showerhead above is a different animal entirely — usually the diverter valve that routes water between the spout and the head. Replacing your main cartridge won’t touch that problem.
Question 2: How fast is it dripping? A drop every two seconds or so suggests a worn cartridge seal. Slow drips with five to ten seconds between them usually mean the seat washer has degraded. Water that keeps running continuously for 30 seconds after you shut the handle off — that’s the cartridge, not the washer.
Question 3: Does it stop eventually? A drip that slows and stops after two or three minutes points toward an O-ring failure. The seal still works, just not perfectly — water seeps past it until pressure equalizes. A drip that never quits, even hours later, is your cartridge or washer. That’s what makes this three-question test so useful to us DIYers — it narrows the field before you disassemble anything.
So, without further ado, let’s dive in.
Step-by-Step Fix for a Dripping Shower Valve
Step 1: Turn off the water supply. Under-sink shutoff valves — turn both hot and cold clockwise until they stop. Snug, not cranked. You’ll avoid the unpleasant surprise of water spraying across the bathroom tile when you open the valve body.
Step 2: Remove the handle. There’s usually a set screw hiding under a decorative cap or a small button on the handle face. Pop the cap, remove the screw with the appropriate driver, then pull the handle straight toward you. Some brands are stubborn here — check the valve manual if it won’t budge after the screw comes out.
Step 3: Access the cartridge or seat washer. You’ll see it — a plastic or brass cylinder sitting inside the valve body. Pull it straight out with a slight twisting motion. Gentle. Forcing a cartridge can crack the valve body itself, and that turns a $20 repair into a $400 valve replacement. Use the wrench if there’s mild resistance, but stop if it really fights you.
Step 4: Inspect what you pulled out. Look at the cartridge seal closely. Cracked? Hardened? Gray and chalky? Run a wet finger along the rubber — rough texture means it’s worn out. If the cartridge looks fine, shine the flashlight inside the valve body and check the rubber seal sitting in there. A degraded seal looks shriveled, brittle, or discolored — you’ll know it when you see it.
Step 5: Replace the worn part. New cartridge goes in the same way the old one came out — straight in, slight twist to lock. Apply plumber’s grease around the body before it goes in. This protects the seals and makes the next removal dramatically easier. Replacing the seat washer instead? It sits right under the cartridge. Pull the old one out, drop the new one in. Honestly, it’s about as complicated as changing a battery.
Step 6: Reassemble and test. Handle back on, set screw snugged down, water back on. Run the shower for 10 seconds, shut it off, then wait two minutes. No drip? You’re done. Go to sleep.
When You Should Call a Plumber Instead
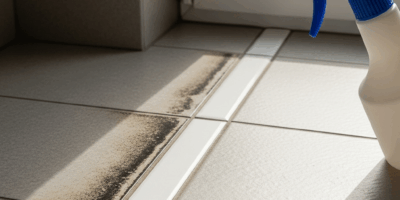
Two situations mean the repair is beyond a DIY fix. First — the valve body itself shows cracking, corrosion, or heavy white mineral buildup on the brass or plastic housing. A fresh cartridge can’t fix a damaged body. Second — the drip comes back within a week of replacing the cartridge. That means the valve seat is pitted, and no cartridge seal in existence can hold against a damaged seating surface.
Frustrated by a drip that returned three days after his repair, a neighbor of mine ignored it for a month using a “wait and see” approach with just a towel on the floor. That was 2019. He ended up with a warped subfloor and a $1,200 repair bill. Water damage compounds fast — a single persistent drip wastes around 20 gallons per day, and that water finds somewhere to go.
This new diagnostic approach took hold among home repair communities several years ago and eventually evolved into the straightforward method enthusiasts know and rely on today. Most shower valve drips are fully fixable in under an hour. The diagnosis is half the work — and now you’ve already done it.

Stay in the loop
Get the latest northwest renovate updates delivered to your inbox.