“`html
The 15-Minute Fix
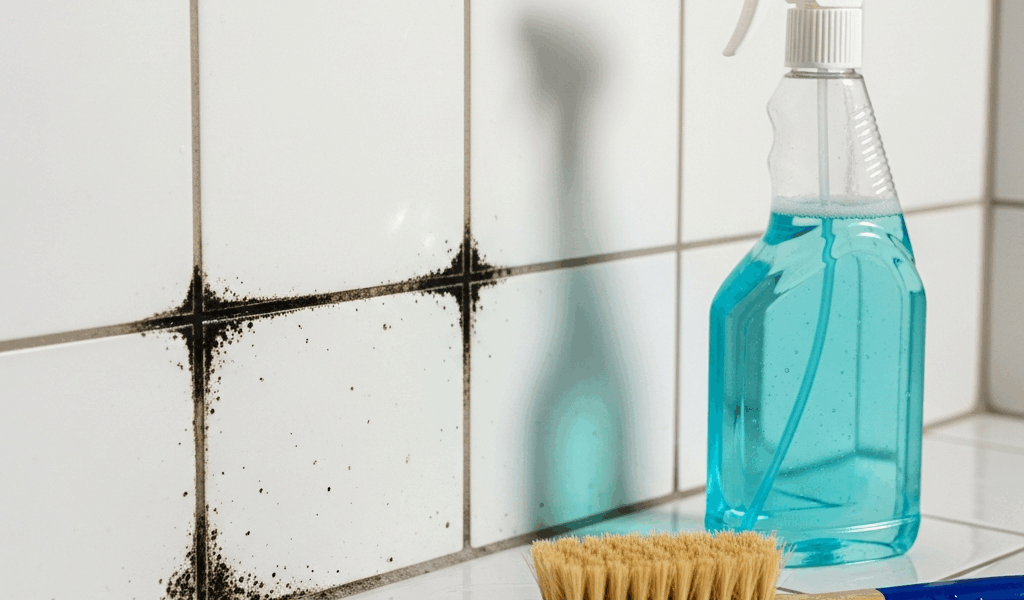
Black mold on grout is one of those problems that looks catastrophic until you realize you can fix it in less time than a shower. I’ve stood in enough bathrooms staring at dark splotches on tile grout to know the panic—but honestly, the solution is almost embarrassingly simple.
Spray undiluted bleach directly onto the black spots. Let it sit for 10 to 15 minutes. Scrub with an old toothbrush or a dedicated grout brush. Rinse thoroughly. Done.
Here’s the specific toolkit that actually works:
- Clorox Bleach Pen (~$3–$5) — The precision tip means you don’t oversaturate surrounding tile. I reach for this in guest bathrooms because the application is controlled and you’re not pouring concentrated chemicals everywhere.
- White vinegar in a spray bottle (~$2 for a gallon jug, reusable bottle) — Safer if you’ve got kids or pets nearby. Slower acting than bleach, but it genuinely works on mildew — at least if you’re willing to wait a bit longer.
- Zep Mold Killer or similar commercial mold spray (~$5–$8) — Pre-formulated and often more potent than household bleach. You’re not measuring or pouring anything yourself.
For the brush, a $4 grout brush from any hardware store beats a toothbrush, but a toothbrush works if that’s what you have on hand. The motion matters more than the tool, honestly.
Here’s what separates this from amateur cleaning advice: you need to understand what you’re actually looking at. Black on grout can be mold — fuzzy, slimy, genuine health risk — or permanent staining (mineral deposits, rust, faded pigment). Bleach and vinegar remove mold. If you spray and scrub and the darkness remains after drying completely, you’re dealing with a stain, not mold. That’s a different beast entirely — and I’ll cover that in a later section because it changes everything about your next move.
After you rinse, leave the area well-ventilated. Open windows. Run the exhaust fan. Let it dry completely before closing the door. Moisture trapped immediately after cleaning defeats the entire purpose.
Why Grout Gets Black in the First Place
Grout is porous. Tile is not. Water and moisture sit in grout like a sponge for days after you shower. Bathrooms and kitchens have constant humidity fluctuations — most homes don’t have adequate ventilation. The exhaust fan runs for five minutes after a hot shower, then you close the door and trap all that moisture inside the walls and grout lines.
Mold and mildew are fungi that thrive in exactly these conditions: darkness, dampness, organic material (dust, skin cells, soap residue), and stagnant air. They colonize porous grout because it stays wet long enough for spores to germinate and multiply. Once established, you see fuzzy or slimy growth, and it becomes a genuine health risk — especially for anyone with respiratory sensitivity or a compromised immune system.
This is why your grout keeps getting black. You clean it, feel victorious for a week, then notice a dark spot returning in the same corner. The underlying cause — moisture and poor ventilation — is still present.
Prevention matters as much as the initial fix. Probably should have opened with this section, honestly.
- Run your exhaust fan for 15–20 minutes after every shower. Not five minutes. Full heat dissipation and moisture removal takes time. If your fan is loud or inefficient, you might want to upgrade — modern fans are quieter and move more air.
- Squeegee shower walls after bathing. A $6 silicone squeegee removes 70% of standing water. That’s the difference between mold-friendly conditions and mold-hostile conditions.
- Caulk the joints where tile meets tub or where walls meet corners. Grout should never be in a joint that flexes or moves. Caulk is flexible; grout is not. Silicone caulk ($2–$4 per tube) keeps water from migrating behind tile.
- Leave the bathroom door open when not in use. Airflow is an underrated mold killer. Even cracked-open doors reduce humidity accumulation.
I learned this lesson the hard way after replacing grout in my master bathroom, only to see mold reappear six months later. New grout, same problem. Turns out the exhaust fan was venting into the attic instead of outside the house. Once I rerouted that ductwork, the black spots stopped returning entirely.
Bleach vs. Vinegar vs. Commercial Cleaners
Your choice depends on speed, safety, and what you’re protecting.
Bleach is the fastest and most aggressive. Sodium hypochlorite directly kills mold spores on contact — a 5–6% household bleach solution works immediately. Cost: under $3 per application. The downsides? Toxic fumes if you’re inhaling heavily, creates dangerous gas if mixed with ammonia-based cleaners, irritates skin. The smell lingers for hours. In a bathroom you’re not using afterward, that’s fine. In a kitchen or frequently occupied space, you’re broadcasting chemical odors all day.
Vinegar works through acidity. White vinegar at 4–5% acidity is slow — you might need 20–30 minutes of contact time instead of 10–15 — but it’s food-safe, non-toxic, and actually biodegradable. Cost: roughly $2 for enough to treat multiple areas. The smell is sharp but temporary. This is my choice for kitchens, kids’ bathrooms, or anywhere I don’t want to worry about chemical exposure. It’s gentler on tile sealers too.
Commercial mold killers like Zep, Wet & Forget, or Mold Armor typically contain bleach, quaternary ammonium compounds (quats), or chelating agents. Cost: $5–$15 depending on brand and size. They’re formulated specifically for mold, often with surfactants that help the product cling to vertical surfaces longer. Effectiveness matches bleach if they contain bleach — at least from what I’ve tested. The main advantage is convenience. You’re not measuring or diluting anything.
For black mold in bathrooms, bleach is fastest and most cost-effective. For occupied homes with kids, pets, or chemical sensitivity, vinegar or a quat-based commercial killer is safer. For kitchen backsplashes, I lean toward vinegar because food prep happens nearby and I’d rather not risk chemical residue. For outdoor grout or pool surrounds, bleach is fine since ventilation is infinite.
When Black Grout Is Not Mold
You spray bleach, scrub for five minutes, rinse, wait for it to dry, and the black is still there. That’s frustrating. It’s also informative.
If the darkness persists after bleach treatment and the grout isn’t fuzzy or slimy to the touch, you’re looking at a stain, not mold. Stains require different solutions — completely different.
Efflorescence is mineral salt that crystallizes on grout surfaces. It appears white or chalky but can oxidize to gray or black over time. It’s not alive. Bleach won’t touch it. Efflorescence requires a pH-neutral cleaner or a dilute acid (like dilute muriatic acid) to dissolve the mineral deposits. This is a specific product purchase and a slightly more involved process than mold removal.
Iron oxide (rust) stains orange or rust-colored initially but can darken to nearly black in humid conditions. Rust stains require a chelating agent or specific rust remover, not bleach. Bar Keeper’s Friend or a dedicated rust stain remover ($4–$8) will handle this, but again — it’s not the same fix as mold.
Permanent discoloration from grout pigment degradation or sealer breakdown appears uniform and doesn’t respond to any cleaner. The grout itself is stained, not coated with growth. This requires grout coloring (a semi-permanent dye, $20–$50 for a kit) or full grout replacement ($200–$800 depending on area).
Identifying which you’re dealing with prevents wasted time and frustration. If bleach doesn’t work, the problem isn’t mold. Move to a different strategy.
When to Call a Professional
DIY removal is appropriate for surface mold on visible grout in dry climates or well-ventilated spaces. It’s not appropriate when:
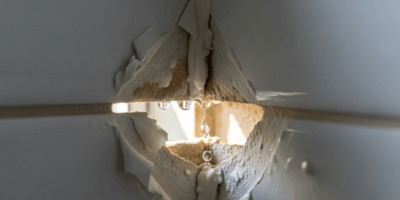
- Visible water damage surrounds the area. Discoloration on adjacent drywall, soft spots in drywall, or peeling paint suggests moisture migration inside walls. That’s a structural problem, not a surface cleaning problem.
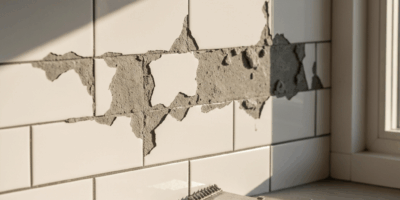
- The grout is soft or crumbles when you touch it. This indicates compromised grout integrity, usually from prolonged moisture exposure. The structural bond between tile and substrate is failing. Cleaning won’t fix it.
- Mold returns within weeks of removal, repeatedly. If you’re treating the same area three times a year, the underlying moisture issue is too severe for exhaust fans and squeegees to solve. You likely have a ventilation deficiency, plumbing leak, or condensation problem that requires professional diagnosis.
- Mold is visible inside grout lines, not just on the surface. Surface mold you can see and treat. Mold colonized deep inside grout indicates the problem has progressed beyond DIY scope. The grout may need full replacement, and the substrate may need inspection for deeper mold growth.
Professional grout replacement or mold remediation costs $200–$800 for a typical bathroom, depending on the area affected and local labor rates. It’s expensive, but it’s necessary when DIY fails because you’re addressing the root cause, not just the symptom. A professional can diagnose hidden moisture problems — leaking caulk, failing seals, condensation from HVAC issues — that you can’t see yourself.
Trust your instinct here. If the mold feels serious or the situation feels beyond your confidence level, call someone. The cost of prevention is cheaper than the cost of mold remediation after water damage spreads inside walls.
“`

Stay in the loop
Get the latest northwest renovate updates delivered to your inbox.