Why Caulk Separates From Tile in the First Place
I spent three years thinking my bathroom caulk problem was just bad luck until I actually looked at what was happening behind the walls. Turns out, separated caulk isn’t a sign you messed up during installation — it’s usually something else entirely working against you.
House settling is the first culprit. New homes shift noticeably in the first 2–3 years. Older homes continue settling at slower rates, especially if you’ve noticed new cracks in drywall or doors that stick differently than they used to. The framing around your bathroom moves with the house. Caulk can’t tolerate that movement. It’s rigid. The tile stays put. The wall frame behind it shifts a millimeter or two. Caulk loses.
The second reason — and honestly, probably should have opened with this section — involves the original caulk installation being wrong from the start. I’ve pulled out caulk applied directly over painted drywall. Over dirty tile. Over caulk that wasn’t even cured yet. Many contractors use acrylic caulk in showers instead of silicone. Acrylic cracks and separates. It’s designed for interior walls, not wet areas. Silicone costs more. Guess which one contractors used in 1997 when your house was built.
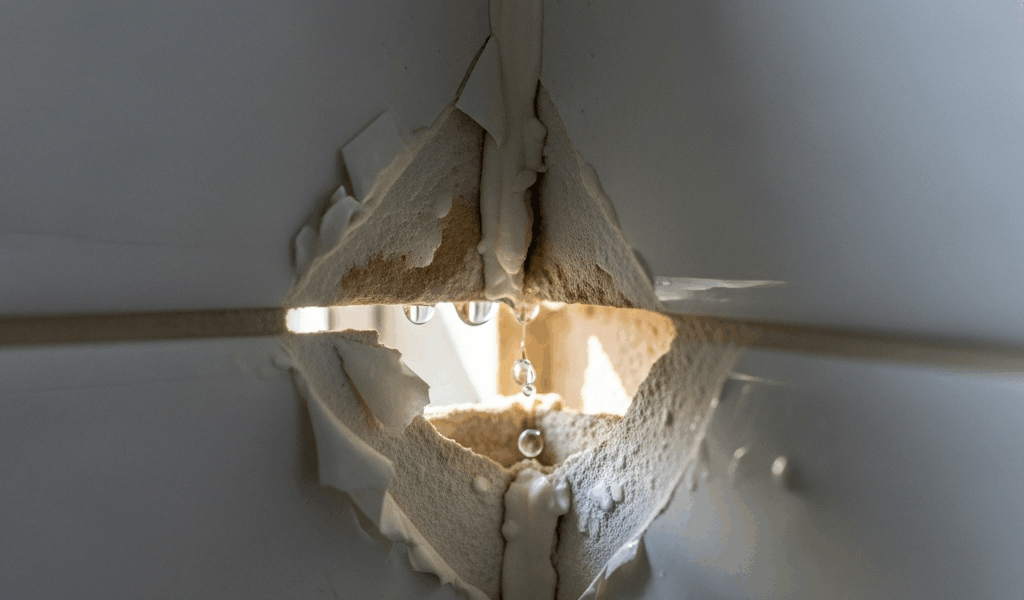
Moisture penetration is the third cause — and the most serious one. If water is getting behind your tiles consistently, the substrate (drywall, cement board, whatever’s back there) is wicking moisture. Drywall expands when wet. This expansion pushes the caulk away from the tile edge. You’ll notice this when the wall feels soft to the touch, or when you see discoloration that looks like water staining in a vertical pattern.
Thermal expansion and contraction round out the list. Tile is stone. Stone expands and contracts with temperature changes — bathroom tile especially, since it experiences hot showers followed by cold mornings. Caulk is more stable, but it can only stretch so much before the bond breaks. A 10–degree temperature swing causes measurable movement in a 5-foot-wide shower enclosure.
How to Know If Your Separated Caulk Needs Immediate Attention
Not every gap is an emergency. Some are cosmetic. Some indicate serious water intrusion.
Gaps larger than 1/8 inch—about the thickness of a dime—warrant attention soon. Gaps you can fit a credit card into need action this week. Anything larger and you’re inviting water behind the tile assembly, where it doesn’t dry quickly. That’s where mold germinates.
Press on the drywall directly below the separation. Does it feel solid? Or does it give slightly, with a soft, spongy resistance? Soft drywall means water has been living back there. You’ve moved from a cosmetic fix to a water damage situation. This changes everything.
Look for mold spots around the separated area — tiny black or dark green specks, or discoloration that looks like a water stain (brownish, slightly organized in shape). Mold means moisture has been present long enough for fungal growth. You’re not sealing caulk anymore. You’re stopping an active leak.
Water staining on the tile itself, especially in a consistent location, tells you water runs down this joint regularly instead of running down the tile face. That’s a sign the gap existed long enough to create a predictable path.
I learned this the hard way when I found the subfloor was already compromised. That $40 caulk job became a $3,200 wall replacement. Don’t make my mistake — if you find soft drywall, active mold, or evidence the wall has absorbed water multiple times, stop and call someone.
Step by Step — How to Remove Old Caulk and Prepare the Joint
This is where most DIYers fail. They rush this part.
You’ll need a caulk remover (Aqua Caulk Remover or similar runs $8–12 per tube), a utility knife with fresh blades, a caulk gun, painter’s tape, and time. The Sharkbite Caulk Removal Tool costs about $15 and actually works instead of just scratching tile — worth it if you’re doing multiple bathrooms.
Scrape out the old caulk aggressively. Use the utility knife at a shallow angle, almost flat against the tile, and dig the old caulk out completely. Any residue left behind becomes a weak point where new caulk will fail again. This takes longer than you think. A 5-foot shower enclosure takes 20–30 minutes of scraping.
Once you’ve removed the loose caulk, apply a caulk remover chemical. Let it sit for the time specified—typically 24 hours for silicone. This softens any remaining caulk stubborn enough to survive scraping. Come back and scrape again.
Dry the joint completely. I mean actually dry — use a hairdryer on high heat if the area feels the slightest bit damp. New caulk won’t bond to moisture. If the wall behind the tile is genuinely wet, you have a bigger problem. Let it air dry for 48 hours minimum. Silicone caulk needs to cure before it’s truly waterproof, and moisture prevents that.
Once it’s dry, wipe the joint with a dry cloth and then use painter’s tape on both sides of the gap. Place the tape 1/8 inch away from the joint edge on both the tile and the wall. This creates clean lines and prevents caulk from smearing across tile or paint. Trust me on this.
The Right Way to Apply New Caulk So It Stays
Use silicone caulk. Not acrylic. Not polyurethane. Silicone. GE Silicone II runs about $6 per tube and works in wet areas. Aquarium-grade silicone (around $12 per tube) is even more moisture-resistant.
Load the caulk gun at a 45-degree angle — the gun tip should point diagonally into the joint. Squeeze steadily and move the gun slowly. You want a consistent bead, not a thin wisp or a giant glob. The bead should be roughly 1/4 inch wide and fill the gap completely.
Wet your index finger with soapy water (just a little dish soap in a spray bottle works). Run your wet finger along the bead, pressing it gently into the joint and dragging it in one smooth motion. This “tools” the caulk — it smooths it, fills voids, and removes excess. Do this before the caulk skins over, which happens in about 5–10 minutes depending on humidity.
Remove the painter’s tape immediately after tooling. While the caulk is still slightly tacky — not wet, not fully set. If you wait until it’s hard, you’ll pull caulk out of the joint.
Don’t caulk over a gap wider than 1/2 inch. Caulk isn’t structural. It’s a seal. If the gap is larger, there’s likely structural movement happening. Fill it with foam backer rod first (costs $8 for 30 feet), then caulk over that.
Give it 48 hours before exposing it to water. Silicone cures slowly. I know it feels hard after 24 hours. It isn’t. Wait the full time.
When to Call a Pro vs. DIY Fix Yourself
If your joint is clean, the wall is solid when you press on it, and you don’t see mold or water staining, you can absolutely do this yourself. Recaulking a bathroom joint is a 90-minute project if you prepare properly.
Call someone if you find soft drywall. This means water damage has progressed beyond surface level. You might need drywall replacement before you can even think about sealing the joint. A general contractor can assess this in a consultation (usually free or $75–150).
Call someone if you spot mold. Mold remediation is outside DIY scope for most people. You need someone who can identify how far it’s spread, whether it’s behind walls, and whether you need professional remediation or just targeted cleaning.
Call someone if the gap opens again three months after you seal it. That’s not your fault. That’s either structural movement that needs a structural fix, or the original cause wasn’t moisture-related — it was settling. A pro can evaluate what’s actually moving and whether it’s safe to ignore or dangerous to your home.
For gaps larger than 1/4 inch or joints that run the entire width of a shower enclosure, a pro can work faster and more neatly. Sometimes it’s worth $150 for clean, professional work instead of stressing over it yourself.

Stay in the loop
Get the latest northwest renovate updates delivered to your inbox.